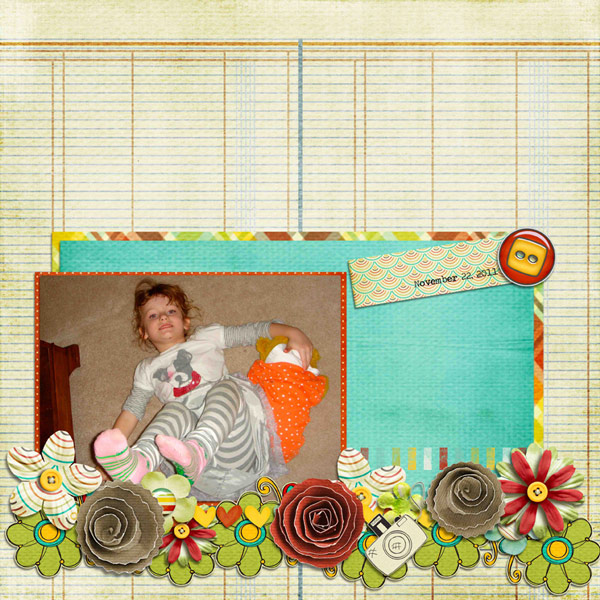
geniaBeana, Siamese Studio, and L Drag Designs have partnered this week to bring you a fabulous collab - A Fresh Start. I love the bright, fresh colors.
Warning: Picture heavy post. May take a while to load.
Hi all! When I created my Clean and Simple card for the Hybrid Chick Card Caravan, it occurred to me that others might want to know how to paper piece with digital stamps and digital scrapbooking products. Today, I'm using Fairy Celandine from Make it Crafty and Cotton Candy and Lemon Drops by Siamese Studio. I chose Fairy Celandine because she has large open areas that will be perfect for paper piecing.
To use this tutorial, you'll need Photoshop Elements or similar program. I'm using PSE 8 on my Mac.
Step 1. Open up the digital stamp that you want to paper piece.
Step 2. Create a new layer (Layer >> New >> Layer >> "OK") and move it underneath the layer that your image is on.
Step 3. Place the paper that you want to use on the layer that you just created (File >> Place). Simplify the layer with the paper on it (Layer >> Simplify)
Step 4. Highlight your image layer by selecting it under the layers. Select the magic wand tool. Make sure the "Contiguous" selection is clicked along the top bar. Click on the area(s) that you want to add your digital papers. For Fairy Celandine, I needed to select multiple areas to grab her whole dress. To do this, hold down the shift key while you're selecting areas. You'll get the little marching ants around the areas that you've selected.
Step 5. Press delete to clear the white background from your selected areas.
Step 6. Select the layer with the paper on it. Invert your selection (Select >> Inverse). Press delete. this should delete all the paper that is not in the dress area. Deselect the area (Select >> Deselect; open apple+D on Mac)
Step 7. You may have a problem using this technique if the area is not completely closed off with a line. If this happens you can use your eraser to erase the paper where you don't want it, or you can leave this area white and color it with markers/pencils/etc.
Step 8. Be sure to have the paper layer selected when you erase.
Step 9. Repeat steps 2-8 to add all the papers that you'd like to use to paper piece your image.
I printed my image on Make It Colour paper and colored Celandine's skin and hair with Copics. Here's my finished card:
You'll notice that the finished card doesn't have the same paper piecing as the tutorial. I did the digital paper piecing while I was on a trip. When I got home, I went to print the image and I couldn't find it anywhere! Remember to save and save somewhere that you'll remember.
This weekend is the Grand Re-Opening of Brownie Scraps with templates galore. I've been scrapping up a storm to get ready and I want to share my layouts with you. Each product below is linked to the shop.
Siamese Studio has an amazing kit for the Scrapbook Bytes Grab-a-Byte this week only. The papers and elements are only $1 each! The pics below are linked.
Here's my layout featuring my favorite subject, Peanut: